Classic Jewish Knishes: The Flaky Potato-Filled Pastry Making a Deli Revival Comeback
Walk into any Jewish deli worth its salt and you'll smell it before you see it: the warm, yeasty aroma of knishes cooling on a rack behind the counter. Golden rounds of flaky pastry, some the size of a softball, hiding a pillow of creamy, seasoned mashed potato inside. The knish is not just food. It is edible history — a hand-held meal born on the streets of the Lower East Side, carried across generations, and right now, enjoying one of the most exciting comebacks in Jewish-American cuisine.
In 2026, the Jewish deli revival is in full swing. Chef Eric Greenspan opened Mish, a new-school Jewish deli in Los Angeles, to packed crowds. Michael's Deli in Brookline, Massachusetts, is winning national attention for creative knish reinventions. Even Duff Goldman launched a Jewish deli concept at America's busiest airport. The knish — humble, hearty, deeply satisfying — sits at the center of this renaissance. And the best part? You can make an outstanding one at home.
This guide gives you the real deal: a tender, flaky dough that shatters when you bite it, a rich potato filling seasoned the old way, and the technique to shape and bake knishes that would make a Lower East Side grandmother nod in approval. Whether you want the classic round bakery style or the hand-held street version, this recipe covers both.
What Is a Knish, Exactly?
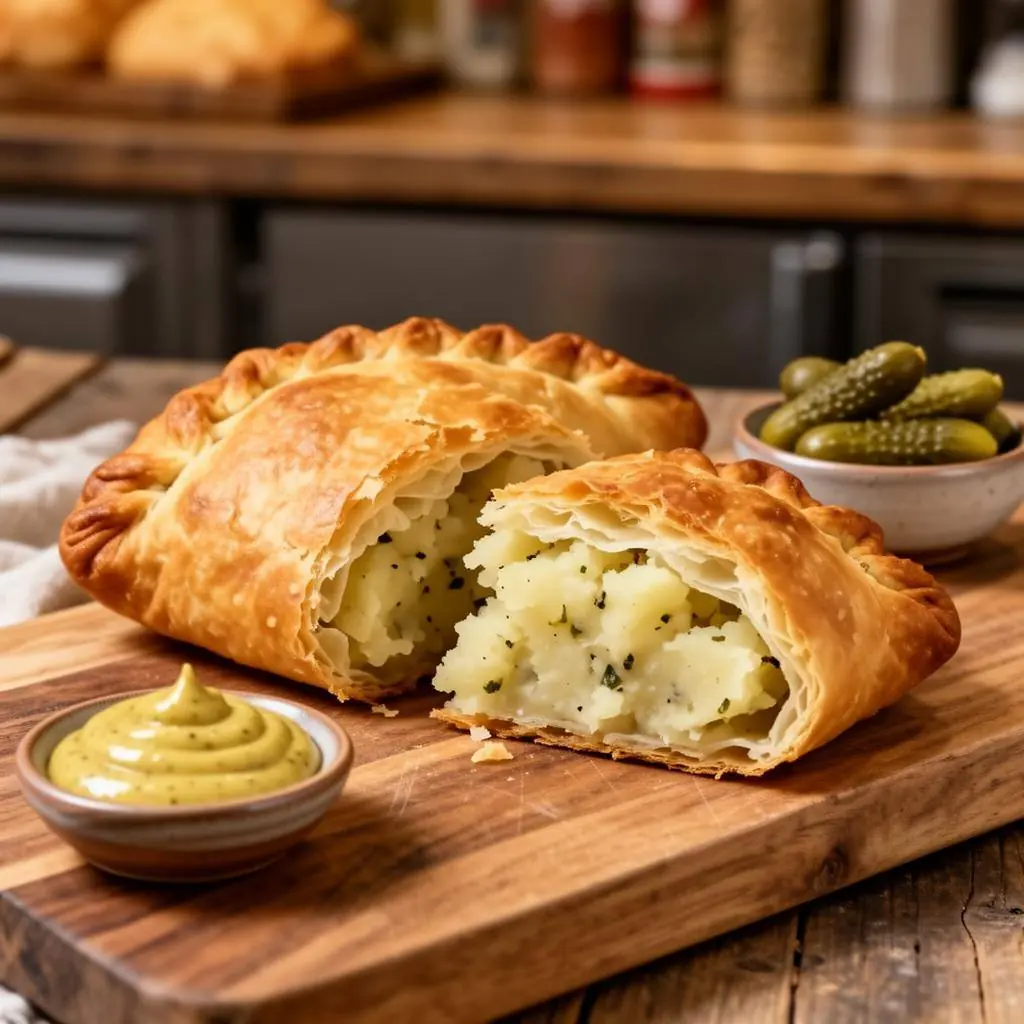
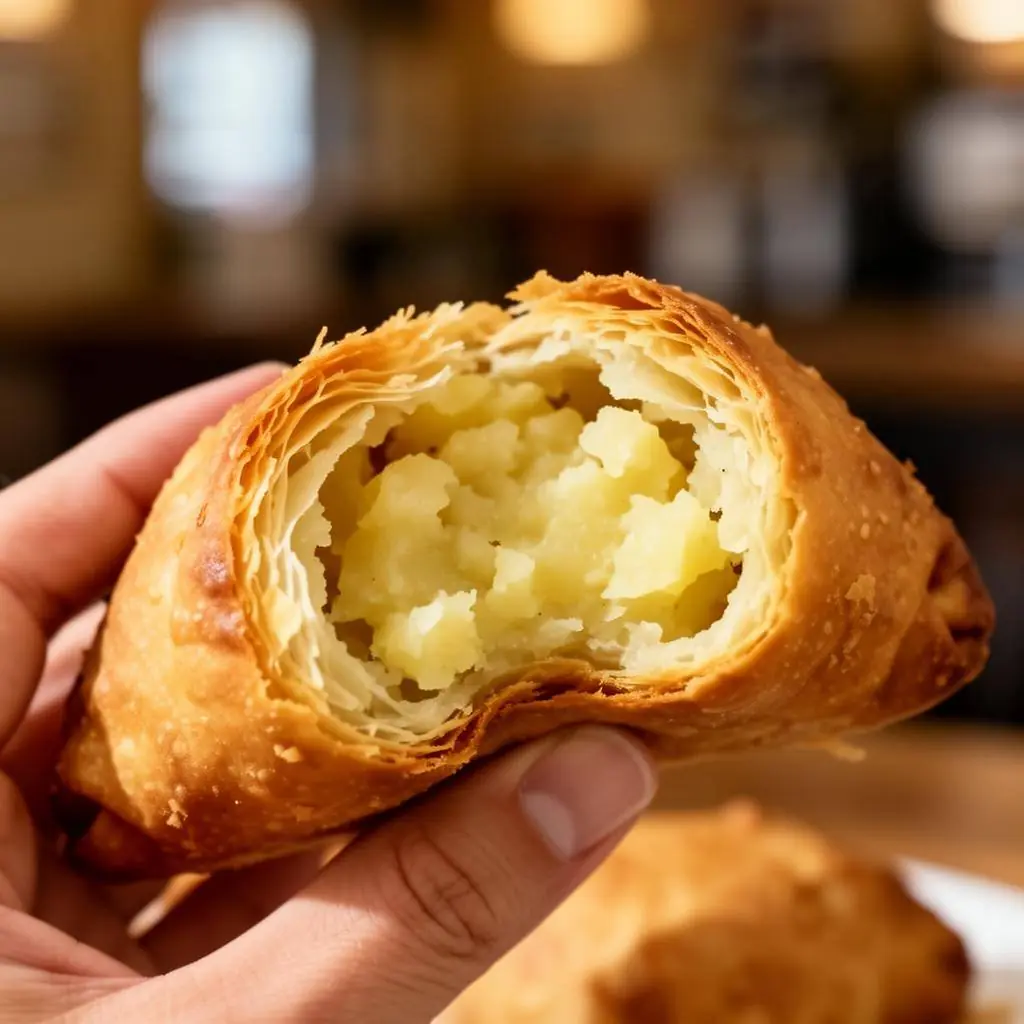
A knish is a filled pastry of Ashkenazi Jewish origin, traditionally made from a thin dough wrapped around a savory filling and then baked or fried. The most iconic version is the baked potato knish: a thick round of soft dough enrobing a dense, seasoned mashed potato center, baked until the exterior is golden and the interior is steaming hot.
The word itself comes from the Ukrainian and Polish knysh, meaning “dumpling” or “cake.” Jewish immigrants from Eastern Europe brought the concept to America in the late 1800s, where it evolved into the larger, denser form sold from pushcarts on the Lower East Side of Manhattan. By the early 1900s, knishes were a staple of New York street food, sold hot from carts and eventually from landmark establishments like Yonah Schimmel's, which has been baking them since 1910 and still operates on Houston Street today.
Why This Recipe Is Worth Making
- The dough is surprisingly simple — just flour, water, oil, salt, and baking powder — yet bakes into layers of flaky tenderness.
- The potato filling is deeply savory, enriched with caramelized onion and just enough schmaltz or oil to taste like a proper deli knish.
- This recipe works for both round 'bakery' knishes and rectangular 'street' knishes.
- They freeze beautifully, making them ideal for batch cooking, Shabbat lunches, or anytime you crave authentic deli flavor.
- Naturally pareve (no dairy), so they pair with any meal.
Ingredients
For the Knish Dough
- 3 cups (375g) all-purpose flour, plus more for dusting
- 1 cup warm water
- ⅓ cup neutral oil or melted schmaltz (schmaltz is traditional and worth seeking out)
- 1 teaspoon kosher salt
- 1 teaspoon baking powder
For the Potato Filling
- 2 lbs russet potatoes, peeled and cubed
- 2 large yellow onions, diced
- 3 tablespoons schmaltz, neutral oil, or melted margarine
- 1 teaspoon kosher salt, plus more to taste
- ½ teaspoon freshly ground black pepper
- ¼ teaspoon garlic powder (optional but beloved in modern deli versions)
- 1 large egg yolk, for brushing (reserve the white for glazing the dough)
Step-by-Step Instructions
Step 1: Make the Dough
- In a large bowl, whisk together the flour, salt, and baking powder.
- Make a well in the center and pour in the warm water and oil (or schmaltz).
- Mix with a spoon until a shaggy dough forms, then turn out onto a lightly floured surface.
- Knead for 5–7 minutes until the dough is smooth, soft, and slightly elastic. It should feel tacky but not sticky — add a sprinkle more flour if needed.
- Shape into a ball, cover with a damp cloth, and let rest at room temperature for 30–45 minutes. This rest is essential for the dough to relax and roll thin.
Step 2: Cook the Potato Filling
- Boil the cubed potatoes in generously salted water until completely tender, about 15–18 minutes. Drain well and return to the pot over low heat for 1–2 minutes to evaporate excess moisture.
- While the potatoes cook, caramelize the onions. Heat the schmaltz or oil in a skillet over medium-low heat and cook the diced onions slowly, stirring often, until deeply golden and sweet — about 20–25 minutes. Don't rush this; the onions should be soft, sweet, and deeply colored.
- Mash the potatoes thoroughly — no lumps. A potato ricer gives the smoothest result, but a masher works fine.
- Stir the caramelized onions (and all their fat) into the mashed potatoes. Add salt, pepper, and garlic powder if using. Taste and adjust seasoning — the filling should be well-salted and deeply savory.
- Let the filling cool to room temperature before assembling. Warm filling will make the dough soggy and difficult to shape.
Step 3: Assemble the Knishes
- Preheat your oven to 375°F (190°C). Line a baking sheet with parchment paper.
- Divide the rested dough into 8 equal pieces for medium knishes, or 6 pieces for large deli-style rounds.
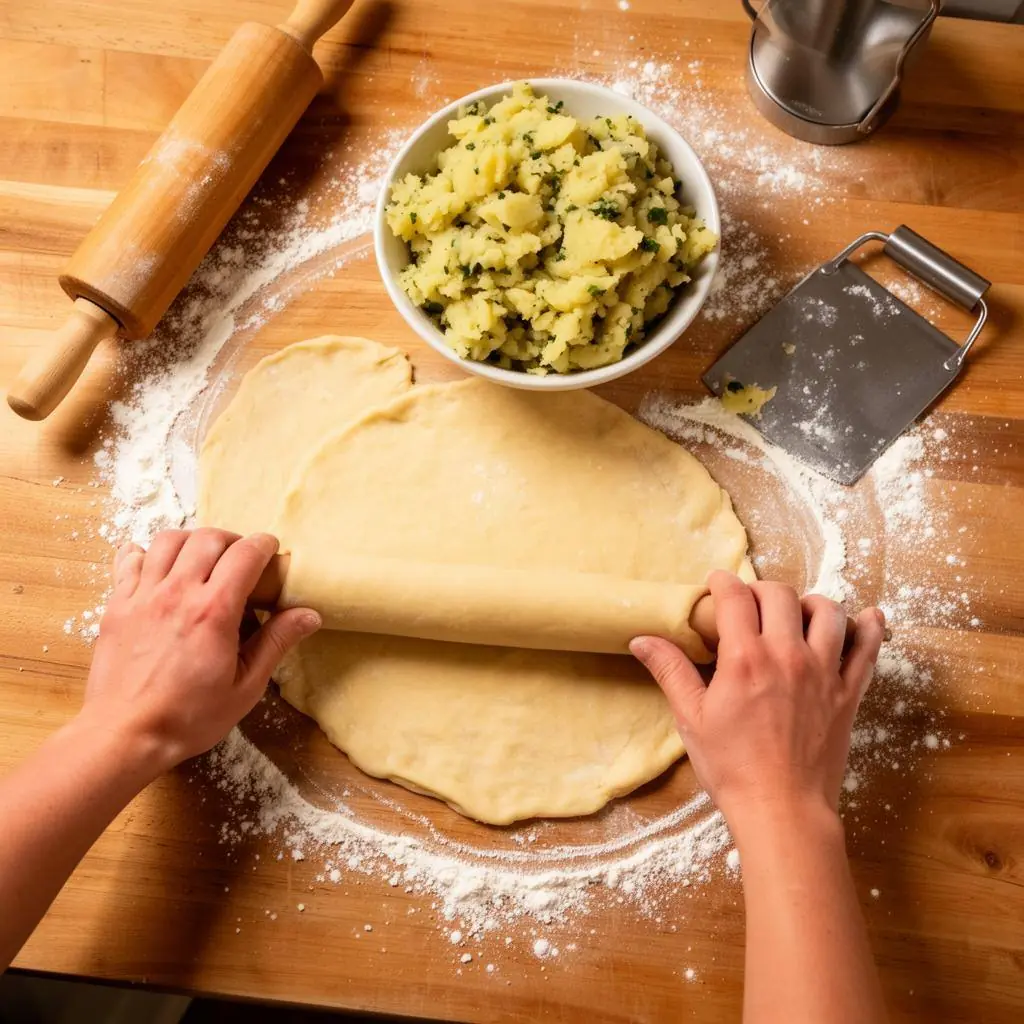
- On a well-floured surface, roll one piece of dough into a very thin rectangle — about 8 by 10 inches. The dough should be almost translucent; thinness is what creates flaky layers.
- Spread a generous ½ cup of potato filling (more for larger pieces) across the center of the dough, shaping it into a thick log running the length of the rectangle.
- Fold the long sides of the dough over the filling, then fold the short ends under, pinching to seal. For round knishes: gather the dough around the filling and pinch at the top, then place seam-side down and gently flatten into a thick disc.
- Place seam-side down on the prepared baking sheet. Repeat with remaining dough and filling, spacing knishes 2 inches apart.
Step 4: Bake to Golden Perfection
- Whisk the reserved egg white with a tablespoon of water for a glaze. Brush each knish generously.
- Use a sharp knife to cut a small steam vent in the top of each knish. This prevents the filling from bursting through the sides.
- Bake for 35–42 minutes, rotating the pan halfway through, until the knishes are deep golden brown and sound hollow when tapped on the bottom.
- Cool on a wire rack for at least 15 minutes before serving. The filling is molten straight from the oven; patience prevents burned tongues.
The secret to a great knish is in the dough: roll it thin, rest it well, and never let the filling touch the edges before you fold. A sealed knish is a happy knish.
A Bite of Knish History
The knish's story is the story of Jewish immigration to America. In the shtetls of Poland and Ukraine, filled dough pockets were common — economical, filling, and made from pantry staples. When Eastern European Jews arrived in New York in the late 19th and early 20th centuries, the knish evolved to suit its new environment.
On the Lower East Side, pushcart vendors sold hot knishes to factory workers, garment workers, and anyone who needed a hearty, affordable meal. The knish was the original street food: self-contained, filling, and cheap. Yonah Schimmel, a Romanian immigrant, opened his eponymous bakery in 1910, and it remains the oldest knishery in America. His original potato knish recipe has changed little in over a century.
Today, knishes are experiencing a renaissance. Modern Jewish delis from Los Angeles to Boston are reimagining the form with creative fillings — pastrami, spinach and feta, mushroom and caramelized onion — while honoring the classic potato version that started it all. The knish has become a symbol of Jewish culinary resilience: simple ingredients, made with care, carrying generations of memory in every bite.
Modern Variations to Try
- Pastrami & mustard: Fold finely chopped pastrami and a dot of mustard into the potato filling for a deli mash-up.
- Mushroom & caramelized onion: Replace half the potato with sautéed mushrooms for an earthy, umami-rich variation.
- Spinach & feta: A Sephardic-inspired filling that's bright, salty, and perfect for a dairy meal.
- Sweet potato & sage: Swap russets for orange sweet potatoes and add fresh sage for an autumnal twist.
- Kasha (buckwheat) filling: The classic alternative to potato, deeply nutty and beloved at traditional knisheries.
Expert Tips for Flaky, Tender Knishes
- Roll the dough as thin as you can without tearing — almost translucent. Thick dough bakes up bready, not flaky.
- Rest the dough twice: once after mixing, and again after rolling if it springs back. Relaxed dough is cooperative dough.
- Cool the filling completely. Warm filling steams the dough from the inside and causes soggy bottoms.
- Don't skip the steam vent. Without it, pressure builds inside and the knish bursts or balloons unevenly.
- Bake until deeply golden, not just pale brown. The Maillard reaction on the crust is where much of the flavor lives.
Common Mistakes to Avoid
- Rolling the dough too thick — this creates dense, bready knishes instead of flaky ones.
- Using cold filling straight from the fridge — bring it to room temp so the dough doesn't chill and harden during shaping.
- Overstuffing — too much filling prevents proper sealing and causes blowouts in the oven.
- Opening the oven door repeatedly — temperature fluctuations cause uneven browning and dense pastry.
- Slicing into a hot knish immediately — the filling needs time to set and the steam needs to escape gently.
Storage & Reheating
- Room temperature: Wrap knishes individually in foil and keep at room temperature for up to 2 days.
- Refrigerator: Store in an airtight container for up to 5 days. Reheat in a 350°F oven for 10–12 minutes to restore crispness.
- Freezer: Freeze unbaked knishes on a tray, then transfer to a bag. Bake from frozen, adding 8–10 minutes to the time.
- Microwave: Not recommended — it makes the dough chewy rather than crisp. Use the oven or a toaster oven instead.
There is something deeply satisfying about making knishes from scratch. The process is rhythmic and forgiving: mix, rest, roll, fill, fold, bake. The result is a portable meal that has sustained Jewish communities for well over a century — from the shtetls of Eastern Europe to the delis of New York and, now, to your own kitchen. Serve them warm with mustard, a pickle, and a sense of history. Because every knish is more than pastry and potato. It is a edible connection to generations of cooks who made something extraordinary from almost nothing.
Key Takeaways
- Jewish knishes are flaky pastries filled with seasoned mashed potato, born on the Lower East Side and now enjoying a nationwide deli revival.
- The dough is simple (flour, water, oil, salt) but must be rolled very thin and rested well for flaky, tender results.
- Caramelized onions and schmaltz give the filling its signature savory depth; the filling must cool before assembly.
- Bake until deeply golden, cut a steam vent, and let them cool before eating for the best texture and flavor.
Frequently Asked Questions
What is the difference between a round knish and a square knish?
Round knishes are the classic bakery style, pinched at the top and flattened into thick discs. Square or rectangular knishes are the street-cart style, folded like an envelope. Both use the same dough and filling; the shape is purely about tradition and serving style.
Can I make knishes without schmaltz?
Absolutely. Neutral oil or melted margarine both work well. Schmaltz gives the most traditional flavor, but the recipe is delicious with any fat. For a pareve version, use oil and serve them with any meal.
Why did my knishes turn out dense instead of flaky?
Dense knishes usually mean the dough was rolled too thick or not rested enough. The dough must be almost translucent when rolled, and it needs a 30–45 minute rest after mixing to relax the gluten. Also avoid overworking the dough during shaping.
Can I freeze knishes after baking?
Yes, baked knishes freeze well for up to 2 months. Wrap them individually in foil, then place in a freezer bag. Reheat from frozen in a 350°F oven for 15–18 minutes until hot and crisp. Unbaked knishes also freeze well and can be baked straight from frozen.
Loved this recipe?
Share it with your family, leave a comment, and explore more traditional and modern Jewish dishes on JewishCuisine.
Explore more Traditional recipes