Black and White Cookies: The NYC Jewish Bakery Classic Made at Home
Few cookies are as instantly recognizable — or as deeply tied to a place — as the black and white cookie. Big as a saucer, soft as a slice of cake, and topped with a crisp half-moon of white vanilla and dark chocolate fondant, it is the unofficial mascot of the New York Jewish bakery. You'll find it stacked behind the glass at delis and appetizing shops from the Lower East Side to the suburbs, wrapped in cellophane, waiting for someone to decide which half to eat first. This is the only black and white cookies recipe you'll need: a tender, lemony cake-cookie base and a two-toned fondant icing that sets up glossy and smooth, with the clean dividing line that marks a cookie made with care.
If you've only ever had the shrink-wrapped supermarket version, a fresh, homemade black and white cookie is a revelation. The cookie itself is somewhere between a sponge cake and a soft sugar cookie — pillowy, lightly springy, and just sweet enough to balance the rich icing. And the icing is the magic: a pourable vanilla fondant that dries to a satiny shell, half of it deepened with cocoa and melted chocolate. Get the texture of that icing right and you've captured the soul of the cookie. Don't worry if it sounds fussy; with a few simple tricks, anyone can turn out bakery-worthy half-moons at home.
What Are Black and White Cookies?
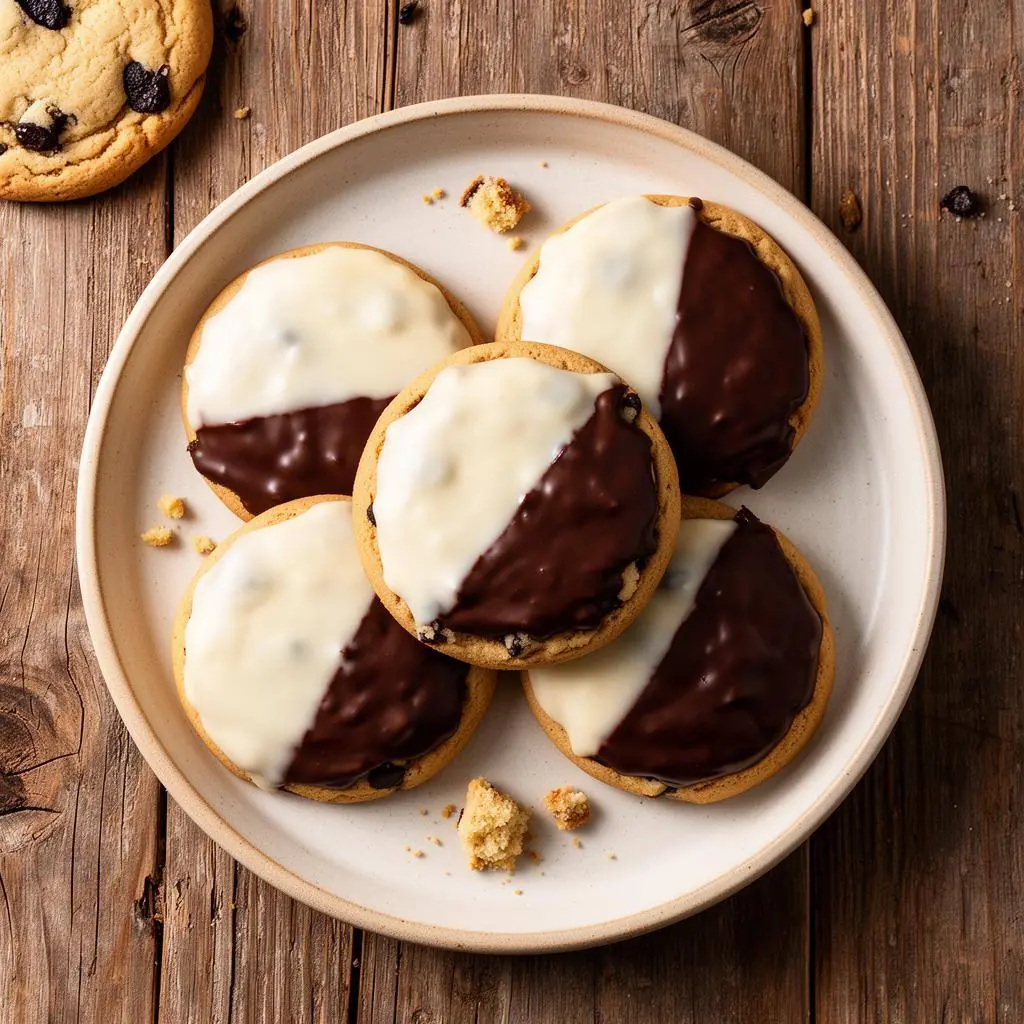
Black and white cookies — sometimes called half-moon cookies, especially in upstate New York — are large, soft, cake-like cookies iced on their flat side with two distinct halves of fondant: one vanilla (the “white”) and one chocolate (the “black”). The texture is the giveaway: these are not crisp cookies but tender, almost cakey rounds, with a delicate crumb and a subtle lemon or vanilla flavor that keeps the rich icing from feeling cloying. The icing isn't a buttercream or a glaze in the usual sense — it's a fondant-style frosting that dries to a smooth, matte-glossy shell you can stack and wrap without smudging.
Part of the joy is the ritual of eating one. Purists debate endlessly: do you eat the vanilla side first or the chocolate? Do you bite straight down the middle to get both at once? Seinfeld famously turned the cookie into a metaphor for racial harmony — “look to the cookie” — and that little cultural moment only deepened its status as a New York institution. However you eat it, the cookie's appeal is its generous, two-in-one abundance: a little cake, a lot of icing, and two flavors in every package.
A Little History
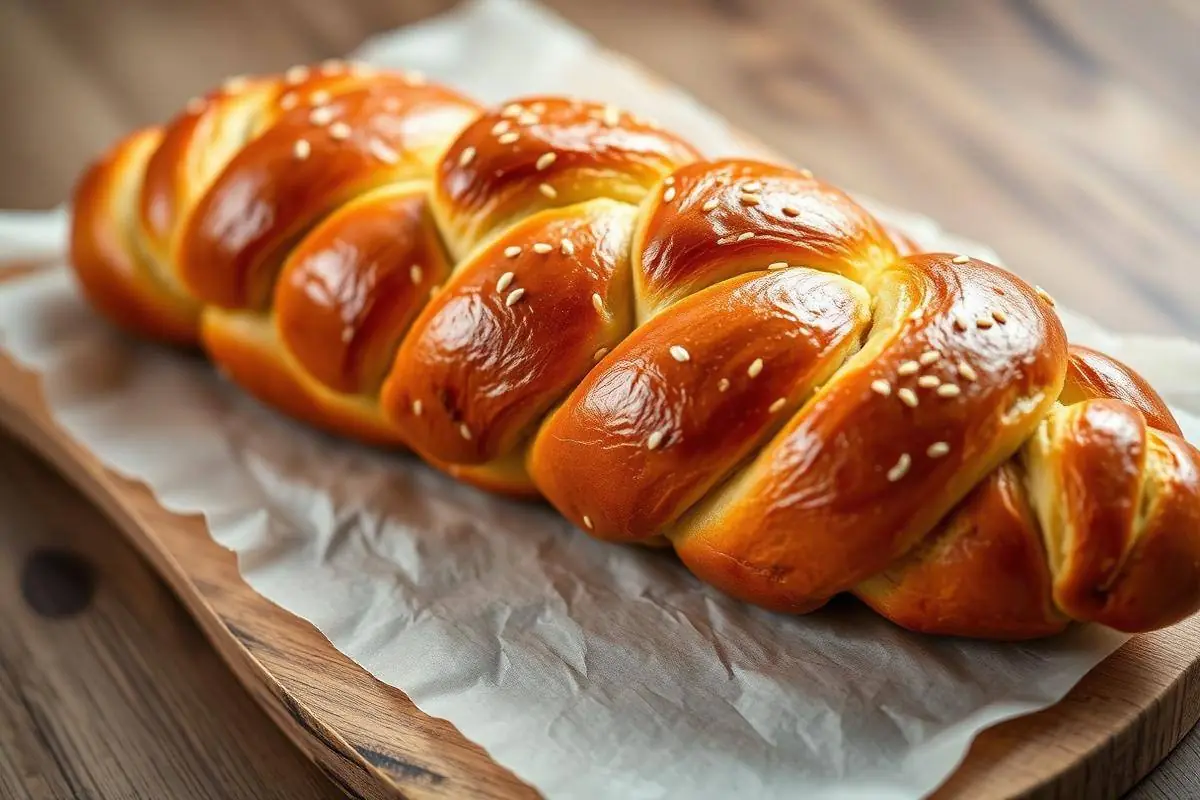
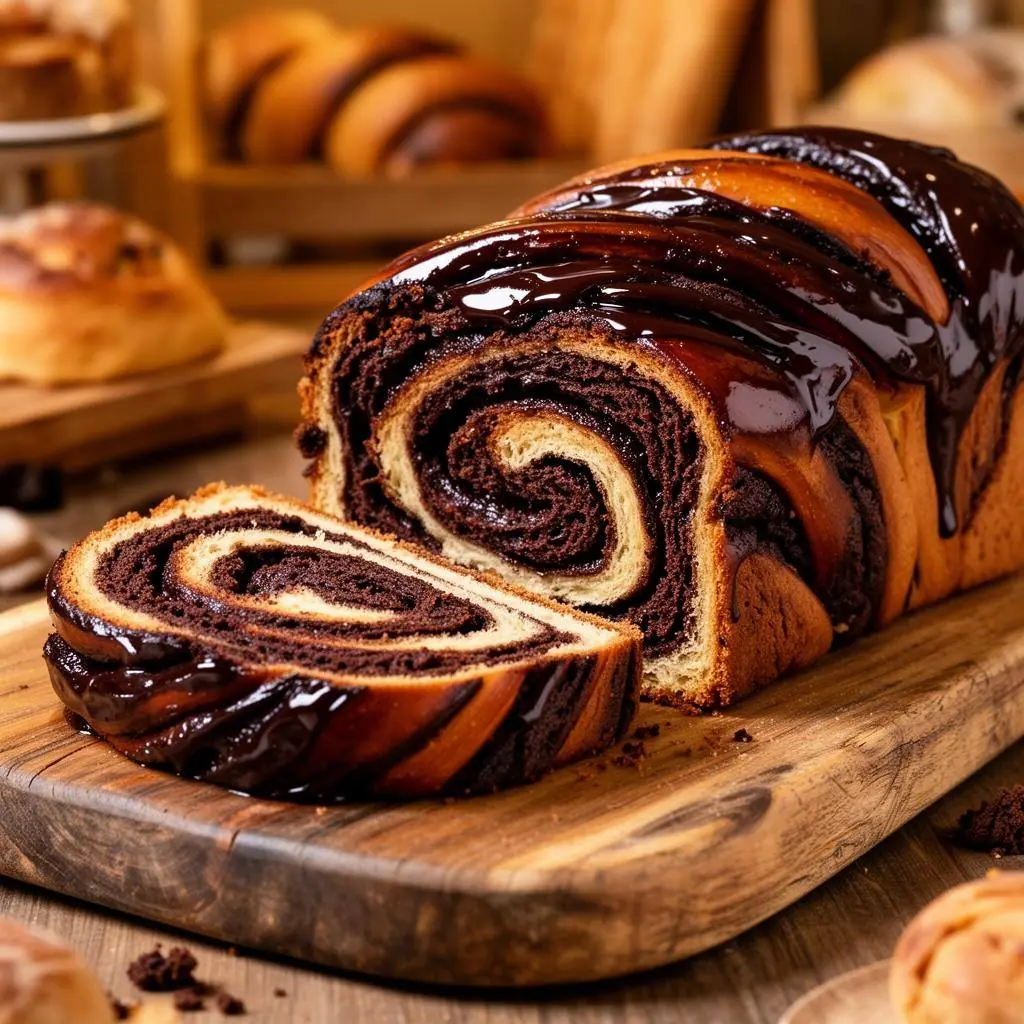
The black and white cookie's origins are debated, but its story is firmly rooted in the German and Jewish bakeries of the American Northeast. Many food historians trace it to early-twentieth-century German-American bakeries that sold a similar iced cake-cookie, which Jewish bakers in New York adopted and made their own. As Jewish immigrants opened bakeries across the city, the half-and-half cookie became a fixture of the appetizing shop and the corner bakery, sold alongside rugelach, babka, and challah.
Over the decades the cookie became shorthand for New York itself — a baked good so tied to the city that visitors seek it out and transplants crave it from afar. Like so many Jewish-American foods, it's a dish of adaptation: European baking technique, American ingredients, and a bakery culture built by immigrant hands. Today it shows up everywhere from old-school kosher bakeries to upscale cafes putting their own spin on the formula, but the classic remains unbeaten: a soft vanilla cookie under a crisp curtain of black and white.
The black and white cookie isn't just a treat — it's a little edible map of New York's Jewish bakery history, two flavors and two cultures meeting in one perfect circle.
Ingredients
For the Cookies
- 1¾ cups (220g) all-purpose flour
- ½ teaspoon baking powder
- ¼ teaspoon baking soda
- ¼ teaspoon salt
- ½ cup (115g) unsalted butter, softened (or margarine for a pareve version)
- ¾ cup (150g) granulated sugar
- 1 large egg
- ½ cup (120ml) buttermilk (or ½ cup milk with ½ teaspoon vinegar; use a non-dairy alternative for pareve)
- 1 teaspoon pure vanilla extract
- ½ teaspoon lemon extract or 1 teaspoon fresh lemon zest (the classic subtle citrus note)
For the Fondant Icing
- 4 cups (480g) powdered sugar, sifted
- 3–4 tablespoons light corn syrup (for shine and a smooth set)
- 5–6 tablespoons hot water, plus more as needed
- 1 teaspoon vanilla extract
- 3 ounces (85g) bittersweet chocolate, melted, plus 2 tablespoons unsweetened cocoa powder for the chocolate half
Step-by-Step Instructions
Step 1: Make the Cookie Batter
- Preheat the oven to 350°F (175°C) and line two baking sheets with parchment.
- Whisk the flour, baking powder, baking soda, and salt together in a bowl and set aside.
- In a large bowl, beat the softened butter and sugar until light and fluffy, about 2–3 minutes.
- Beat in the egg, vanilla, and lemon extract (or zest) until smooth.
- Add the flour mixture in two additions, alternating with the buttermilk, mixing just until combined. The batter will be thick and soft, more like a cake batter than a cookie dough.
Step 2: Scoop & Bake
- Scoop generous ¼-cup mounds of batter onto the sheets, spacing them at least 3 inches apart — they spread into wide rounds.
- Smooth the tops slightly with the back of a wet spoon so they bake evenly.
- Bake for 15–18 minutes, until the edges are just set and a toothpick comes out clean. The tops should spring back and stay pale — you don't want them browned.
- Cool on the tray for 5 minutes, then transfer to a rack to cool completely. Ice them only when fully cool, flat (bottom) side up.
Step 3: Make the Fondant Icing
- In a large bowl, whisk the sifted powdered sugar with the corn syrup, vanilla, and enough hot water to make a thick but spreadable icing — it should fall from the whisk in a slow ribbon. Add water a teaspoon at a time; too thin and it runs, too thick and it won't smooth out.
- Transfer about half the icing to a second bowl. Whisk the melted chocolate and cocoa into that half, adding a splash more hot water to loosen it back to a spreadable consistency.
- Keep both bowls covered with a damp towel while you work — fondant crusts over quickly.
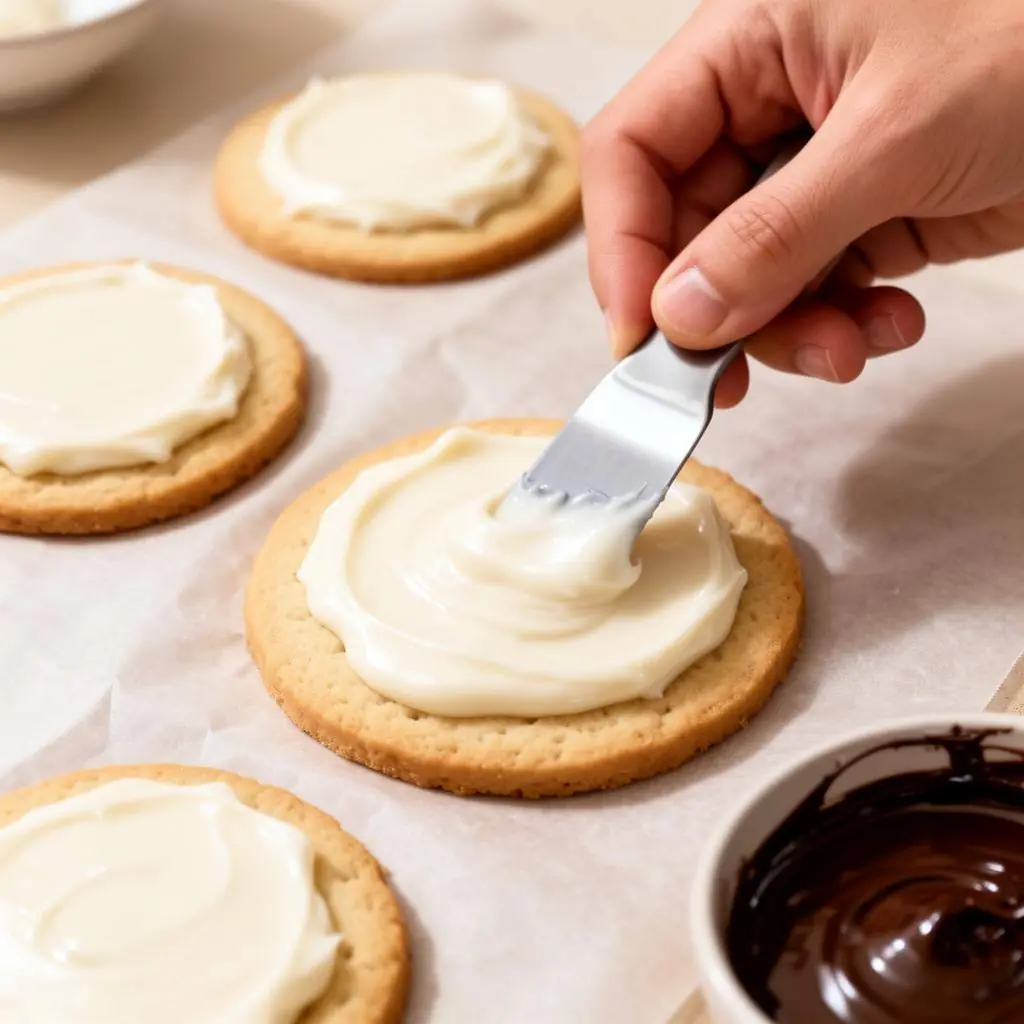
Step 4: Ice the Half-Moons
- Working one cookie at a time, flat side up, spread the white vanilla icing neatly over one half, stopping at the center line. A small offset spatula makes a clean edge.
- Let the white half set for a few minutes, then spread the chocolate icing over the other half, meeting the white at the center for that crisp dividing line.
- Place iced cookies on a rack and let the fondant set fully, about 1 hour, until it forms a smooth, dry shell. Now you can stack and wrap them.
The clean line down the middle is the mark of a great black and white cookie. Let the white side set before you add the chocolate, and meet them right at the center — patience is the whole trick.

Tips for the Perfect Black and White Cookie
- Ice the flat side. Cookies are iced on the bottom (flat) surface, not the rounded top — that's the secret to a smooth, even finish.
- Don't overbake. The cookies should stay pale and soft; browned edges mean a dry, crisp cookie instead of a cakey one.
- Get the fondant consistency right. Aim for a slow ribbon — thin enough to self-smooth, thick enough not to drip off the edges.
- Work fast and keep icing covered. Fondant crusts quickly; a damp towel over the bowls keeps it spreadable.
- Set the white before the chocolate for a clean center line, and use an offset spatula for crisp edges.
Variations to Try
- Lemon-forward: lean into the citrus with extra lemon zest in the batter and a touch in the white icing.
- All-chocolate or all-vanilla: skip the split for single-flavor rounds if you have a strong preference.
- Mini cookies: scoop tablespoon-size mounds for two-bite half-moons — great for a dessert tray or mishloach manot.
- Espresso chocolate: add ½ teaspoon instant espresso to the chocolate icing for a mocha depth.
- Pareve party batch: use margarine and non-dairy milk so they're welcome after any meal.
Storage & Make-Ahead
- Store: keep iced cookies in an airtight container, separated by parchment, at room temperature for up to 4 days.
- Make-ahead: bake the cookies a day ahead and ice them the next day; un-iced cookies stay soft well wrapped.
- Freeze: freeze un-iced cookies up to 2 months; thaw and ice fresh for the best fondant shine.
- Avoid the fridge: refrigeration can make the icing tacky and the cookies dry — room temperature is best.
Common Mistakes to Avoid
- Overbaking until browned, which turns the cake-cookie dry and crisp instead of soft.
- Icing that's too thin (it runs off and won't hold the center line) or too thick (it won't smooth out).
- Icing the rounded top instead of the flat bottom, leaving a bumpy, uneven finish.
- Rushing the chocolate onto a wet white half, blurring the dividing line.
- Refrigerating the finished cookies, which dulls the icing and dries the crumb.
Once you've made a batch of these, you'll understand why New Yorkers get misty about them. A homemade black and white cookie — soft, fragrant with lemon and vanilla, crowned with that glossy two-toned shell — is a small masterpiece of the Jewish-American bakery, and it's entirely within reach in your own kitchen. Make a dozen, wrap a few to share, and settle the eternal question for yourself: vanilla side first, or chocolate?
Key Takeaways
- Black and white cookies are soft, cake-like rounds iced half with vanilla and half with chocolate fondant — the icon of the NYC Jewish bakery.
- Bake them pale and soft; browned edges make a dry, crisp cookie instead of a cakey one.
- Ice the flat bottom, get the fondant to a slow-ribbon consistency, and set the white half before adding chocolate for a clean center line.
- Made with butter they're dairy; swap in margarine and non-dairy milk for a pareve batch.
Frequently Asked Questions
Why are my black and white cookies dry instead of soft and cakey?
The most common cause is overbaking. These cookies should stay pale and spring back when touched — pull them as soon as the edges are set and a toothpick comes out clean. Also avoid refrigerating the finished cookies, which dries the crumb.
What kind of icing is used on black and white cookies?
It's a fondant-style icing made from powdered sugar, corn syrup, and hot water (plus chocolate and cocoa for the dark half). It dries to a smooth, glossy shell rather than staying soft like buttercream, which is what lets you stack and wrap the cookies.
Can I make black and white cookies pareve?
Yes. Swap the butter for non-hydrogenated margarine, use a non-dairy milk soured with a little vinegar in place of buttermilk, and use certified-kosher pareve chocolate. This makes them suitable to serve after a meat meal or share widely.
Loved this recipe?
Share it with your family, leave a comment, and explore more traditional and modern Jewish dishes on JewishCuisine.
Explore more Desserts recipes